Microsoft Account Setup.
To Add Microsoft Teams Account in the SeekLMS Platform you need these details:
Application (client) ID
Client Secret(Value)
Directory (tenant) ID
User Principal Name.
To get the above details, follow the steps mentioned below.
Step 1: Create an application in Microsoft Azure
Step 2: Add permissions to the application created
Step 3: Generate Secret Key for the application
Step 4: Add(Internal/External) or Create(Internal) user
Step 5: Link application and user
Step 1: Create an application in Microsoft Azure
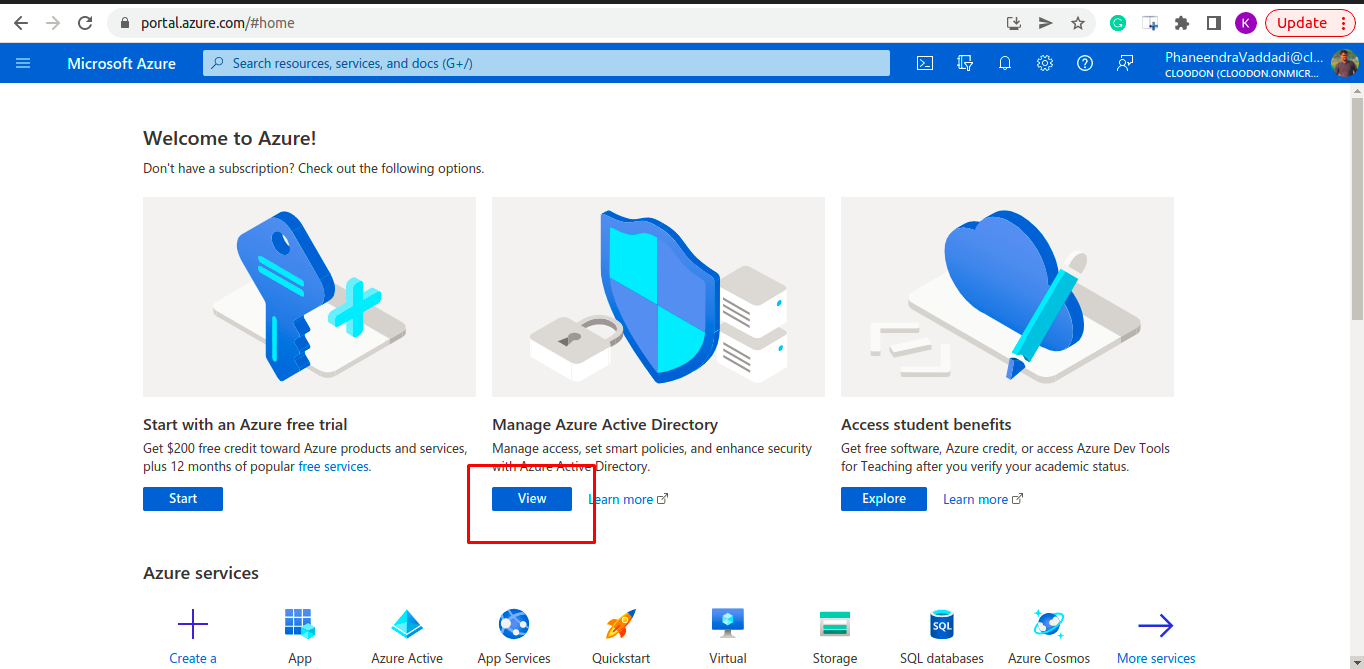
Login to (Microsoft Azure)Click on View of ‘Manage Azure Active Directory’.
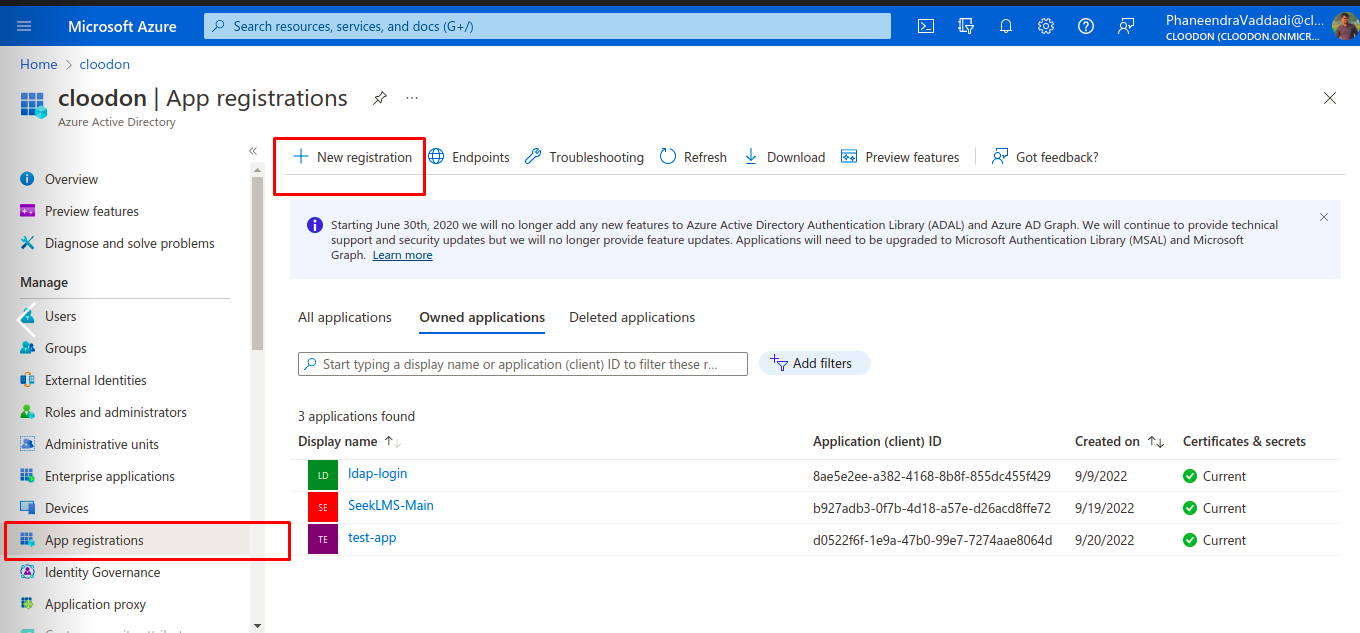
On the Home Screen, Select ‘App registrations’ from the sidebar menu
And start creating a new application by clicking on the ‘New registration’ tab
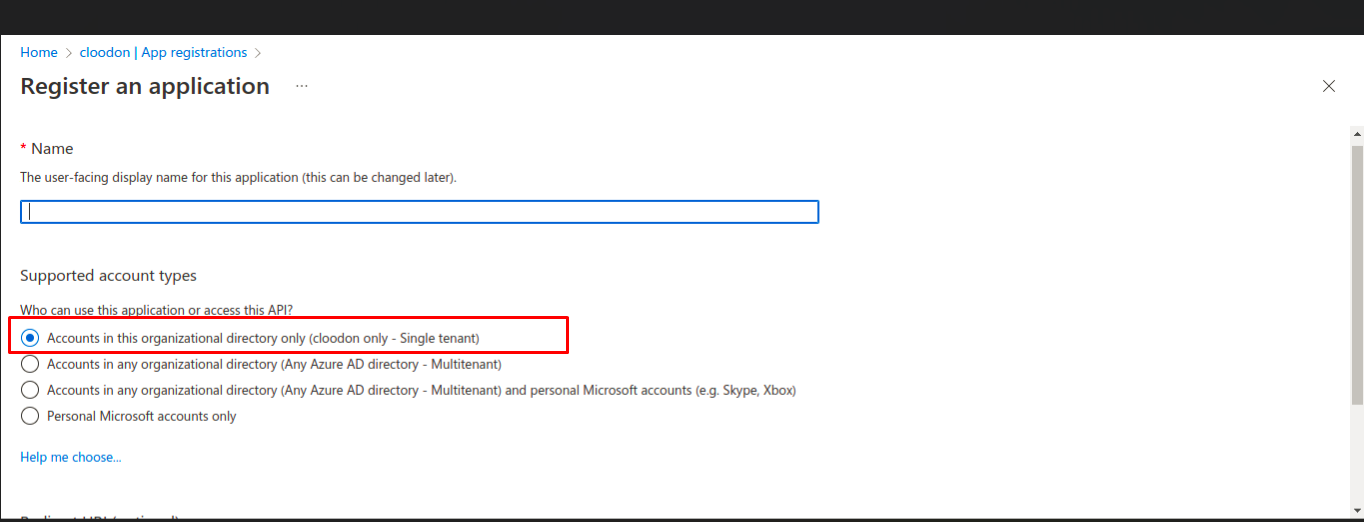
Now add details like the Name of your application.
Select option ‘Accounts in this organizational directory only (<your company name> only - Single tenant)’
Select Web from the dropdown.
Add redirect URL as: https://<Your domain name>/apis/ms_teams_redirect/

Once you click on ‘Register’, you will be redirected to the Application page.
Copy/Save: To add in SeekLMS Platform
Application (client) ID
Directory (tenant) ID

Step 2: Add permissions to the application created
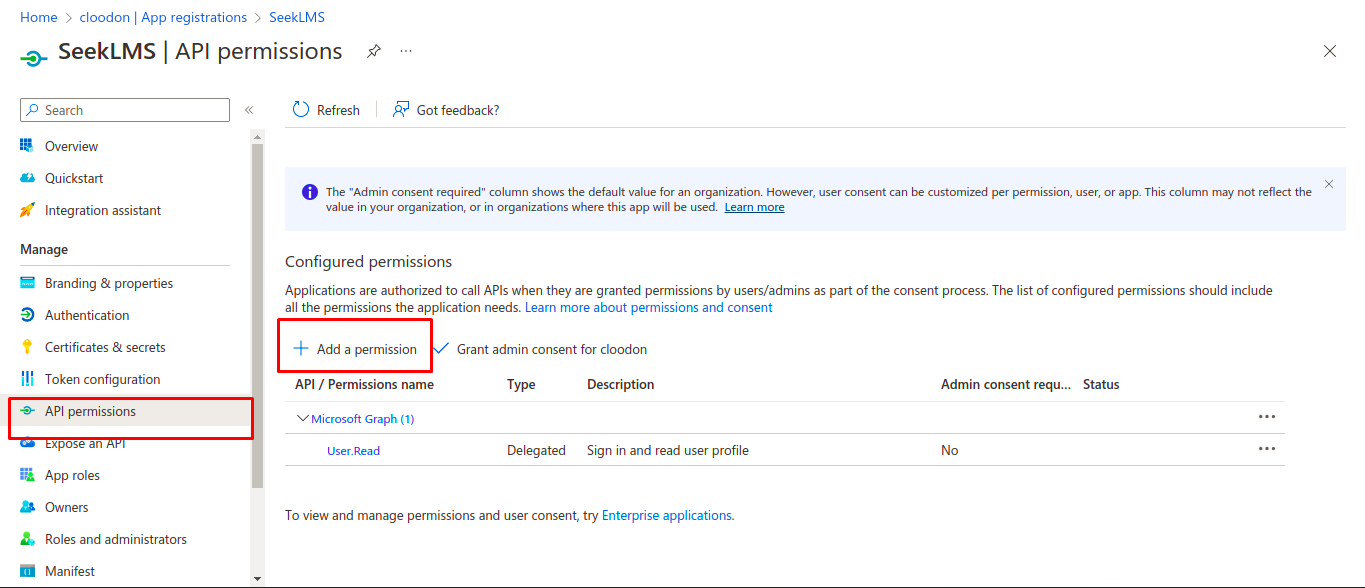
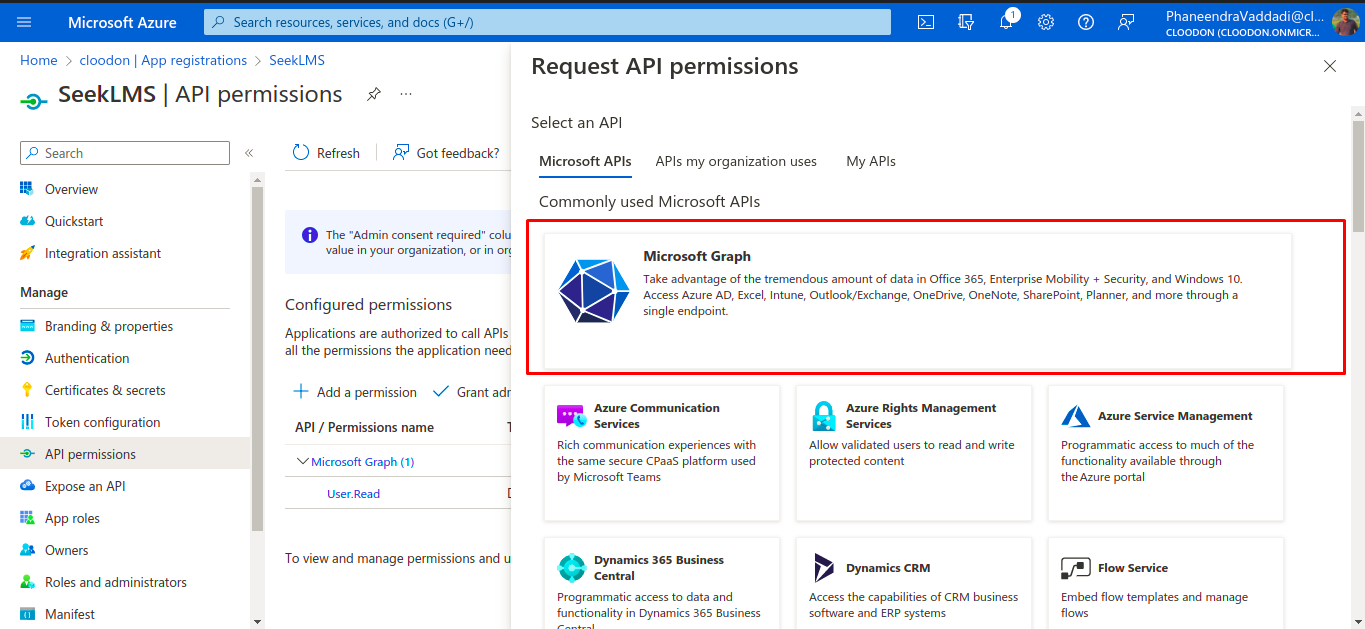
After creating the application Click on ‘API permissions’ from the sidebar menu and then click on the ‘Add a permission’ tab.
Then click on ‘Microsoft Graph’ -> ‘Delegated permissions’.

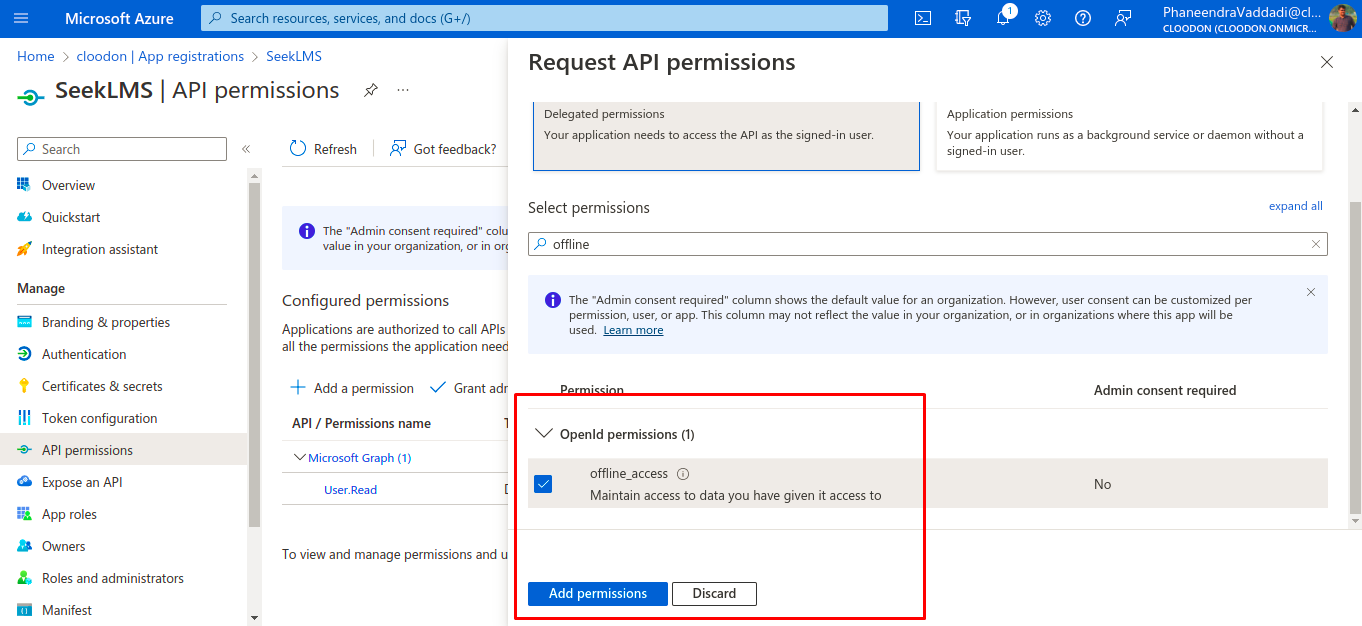
Search for offline and select offline access.
Search for calendar and select Calendars. Read, Calendars.Read.Shared, Calendars.ReadWrite, Calendars.ReadWrite.Shared.
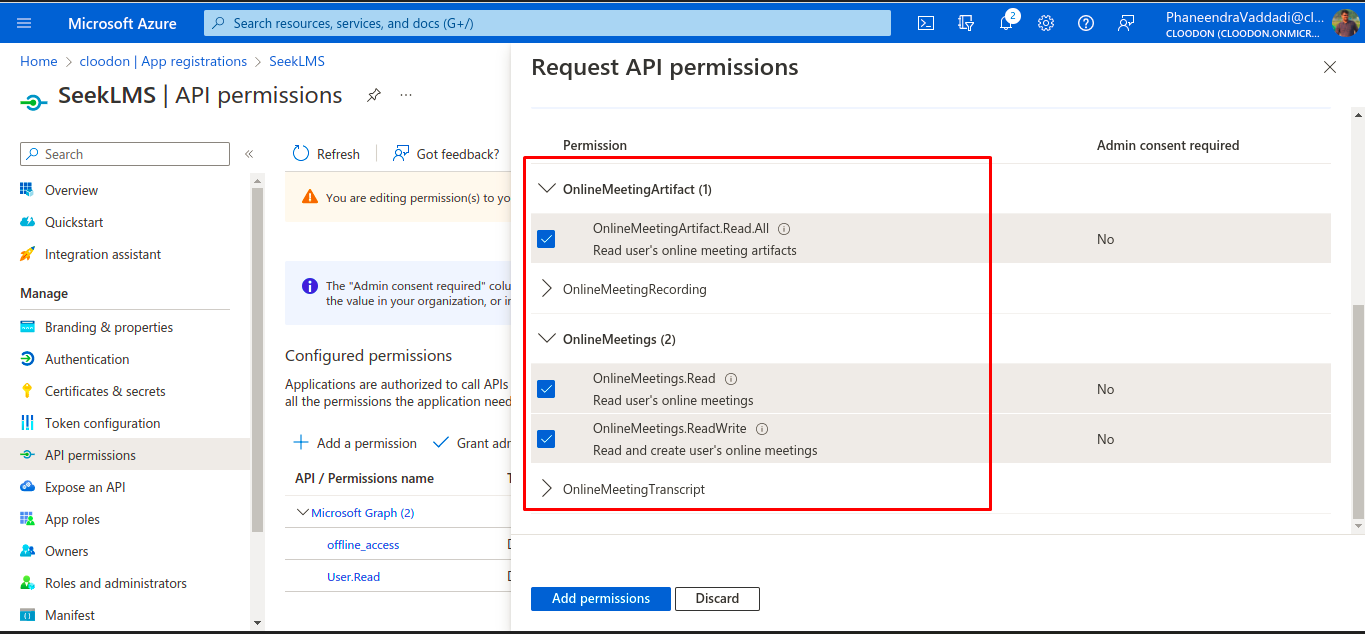
Search for OnlineMeeting and select OnlineMeetingArtifact.Read.All, OnlineMeetings.Read, OnlineMeetings.ReadWrite.
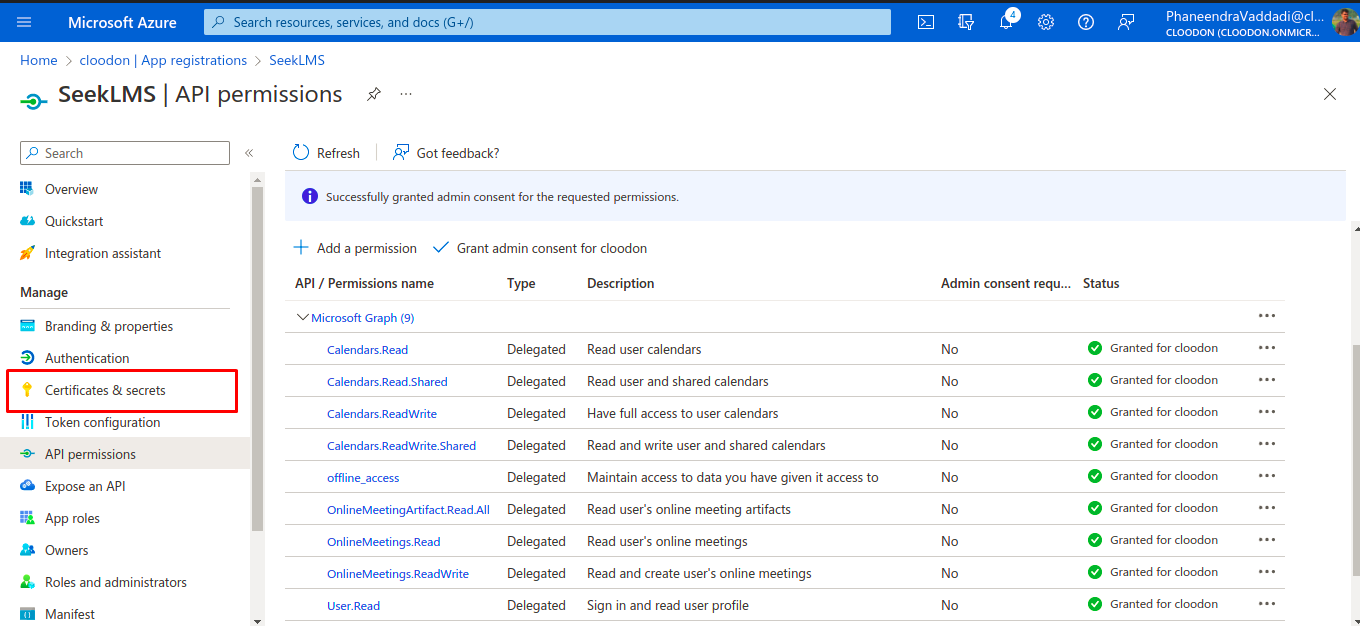
Once all the permissions are added click on ‘Grant admin consent.

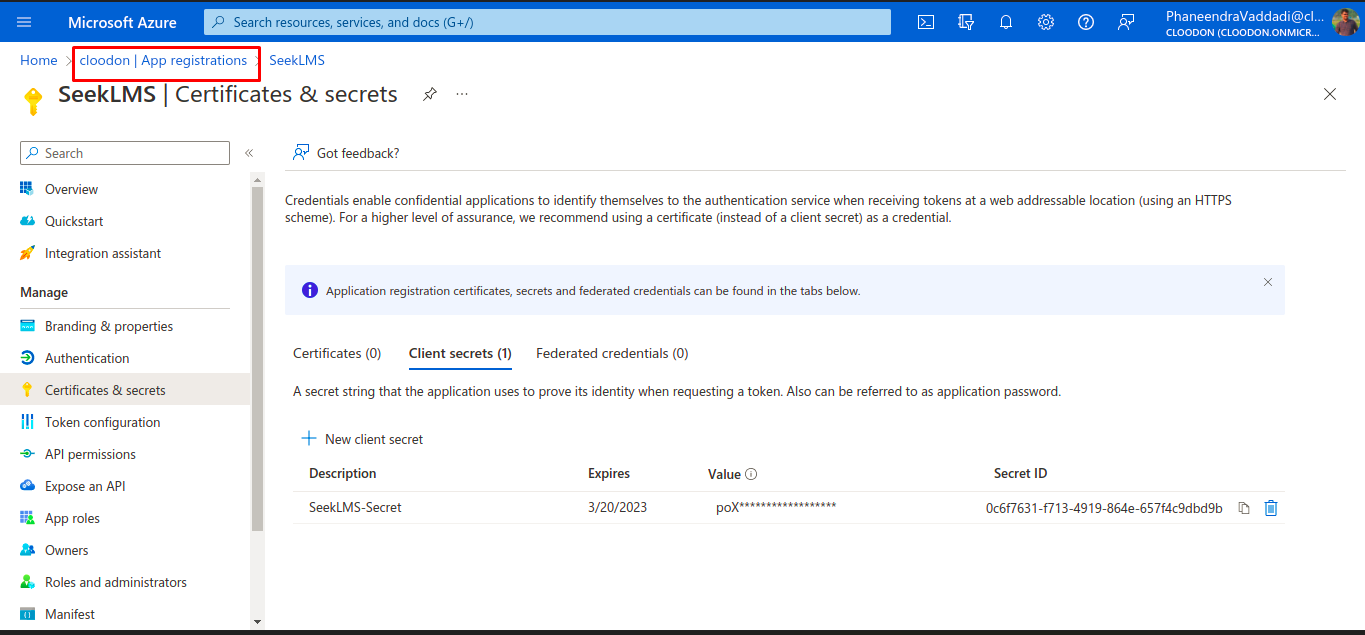
Step 3: Generate Secret Key for the application
Select ‘Certificates and secrets’ from the sidebar menu.
- Click on ‘New client secret’.

- Add details, description and duration of client secret.

Now copy the text in the value column. This will be your Client Secret(Value) to be added to the SeekLMS platform.
This will be shown only once. Copy it in some place.

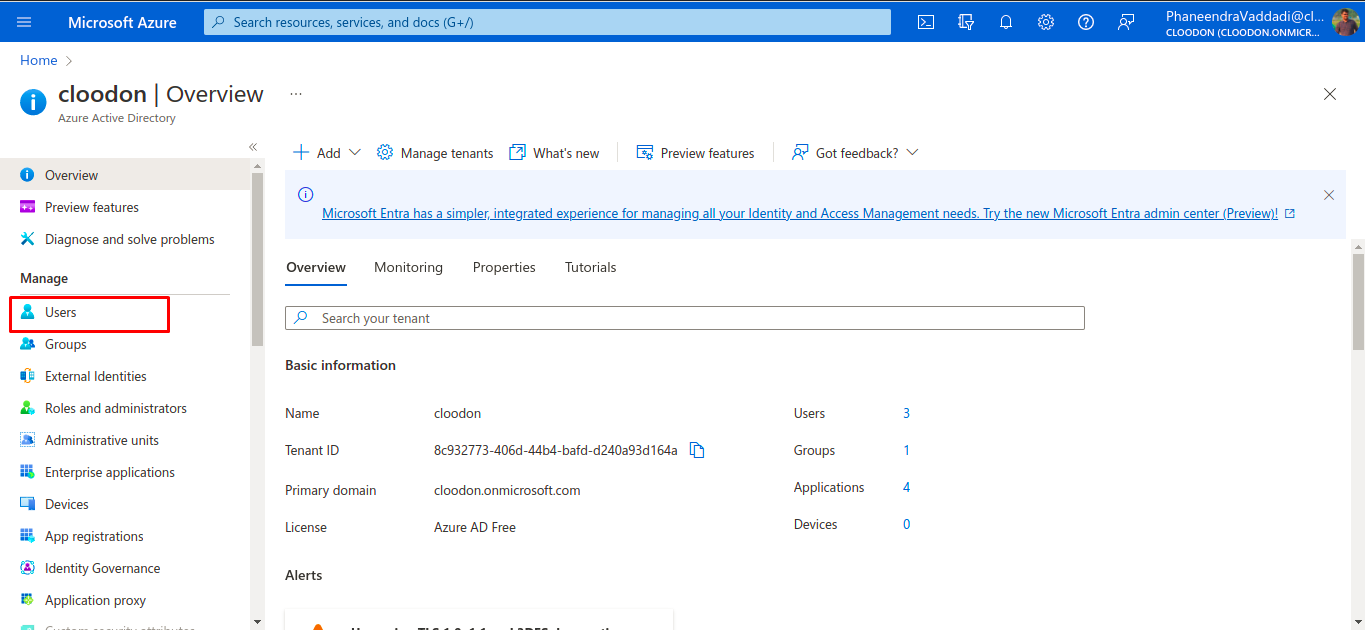
- Now click on App registration as shown in the screenshot. And select ‘Users’ from the sidebar menu.
You can either create a new user for your organization or add an already existing MS account.

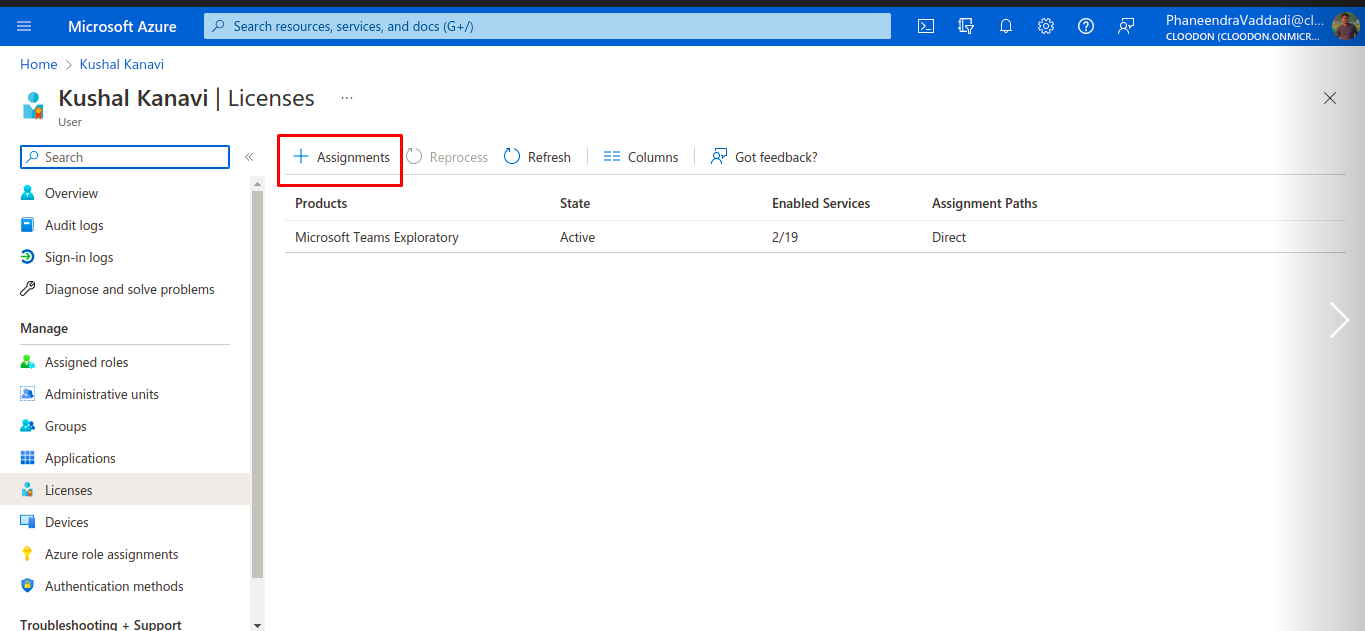
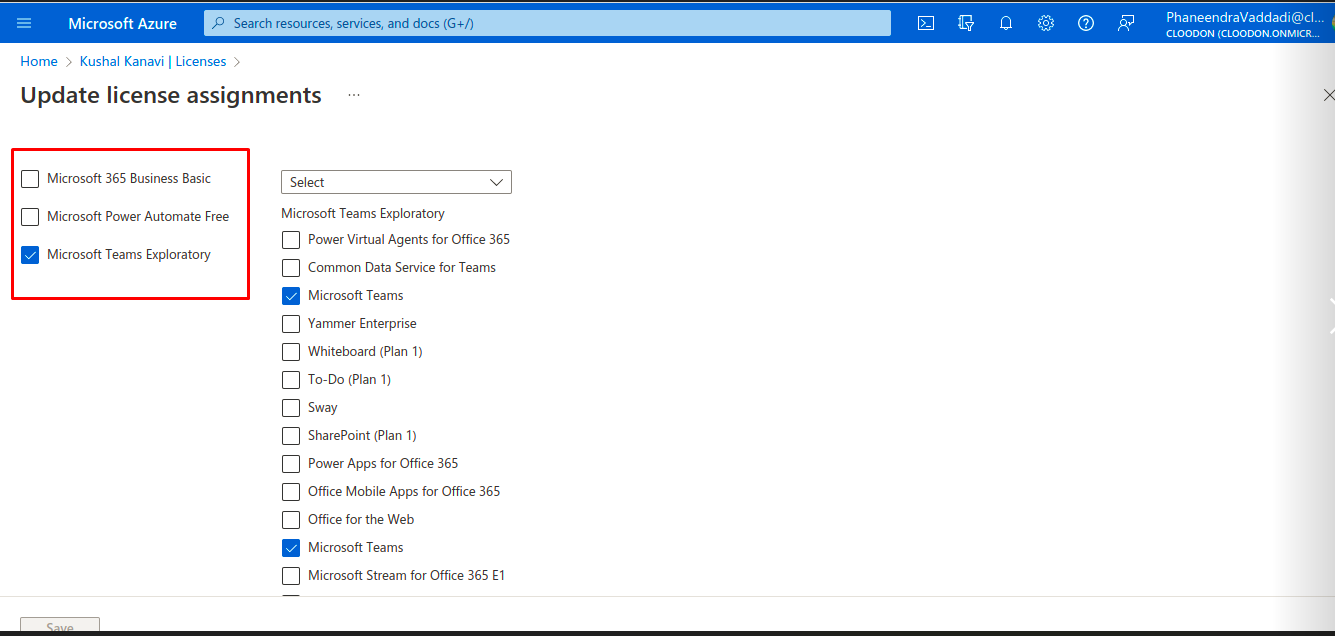
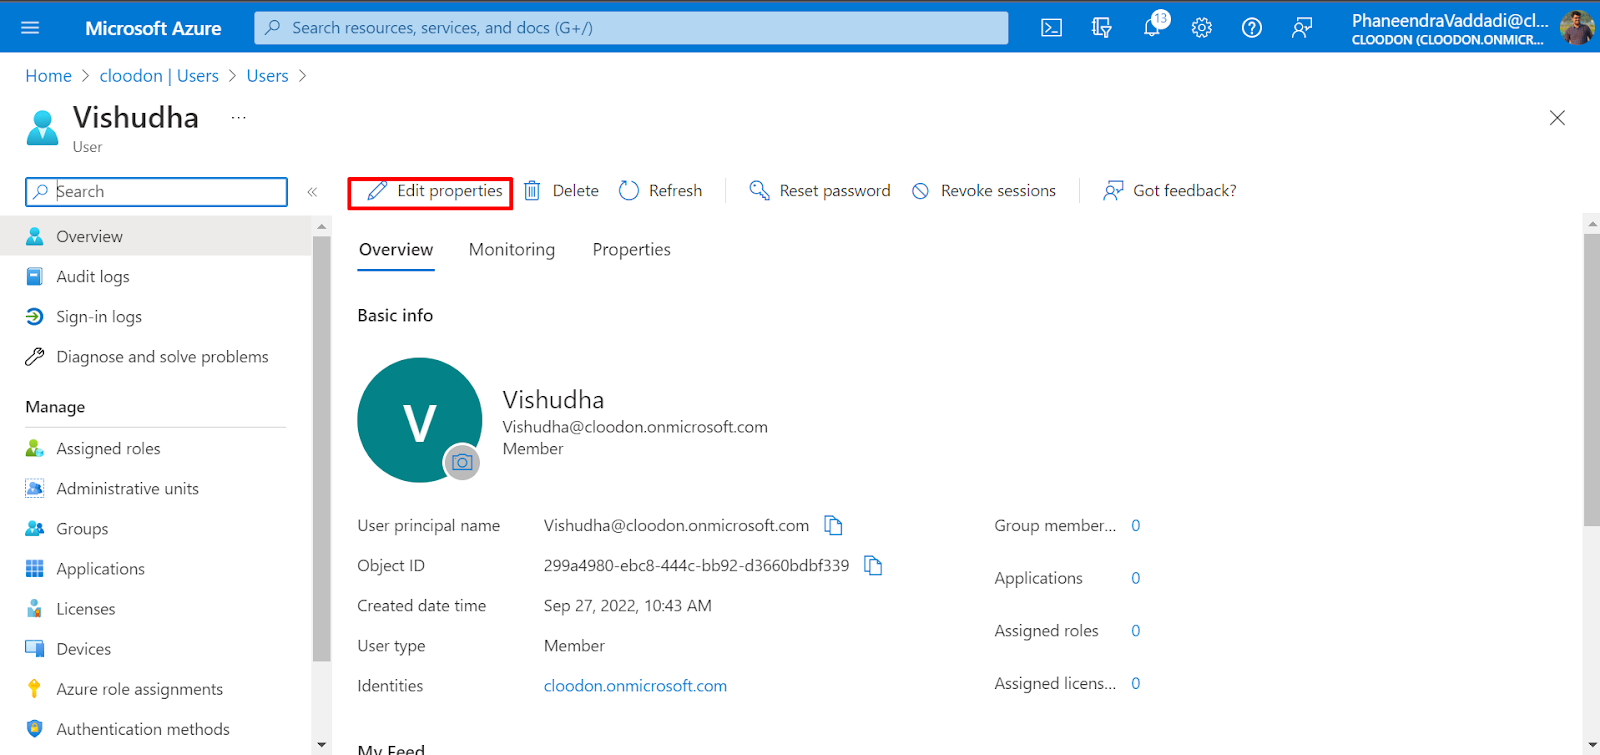
- For users defined in the above steps, you can give a license as shown in the screenshots below.

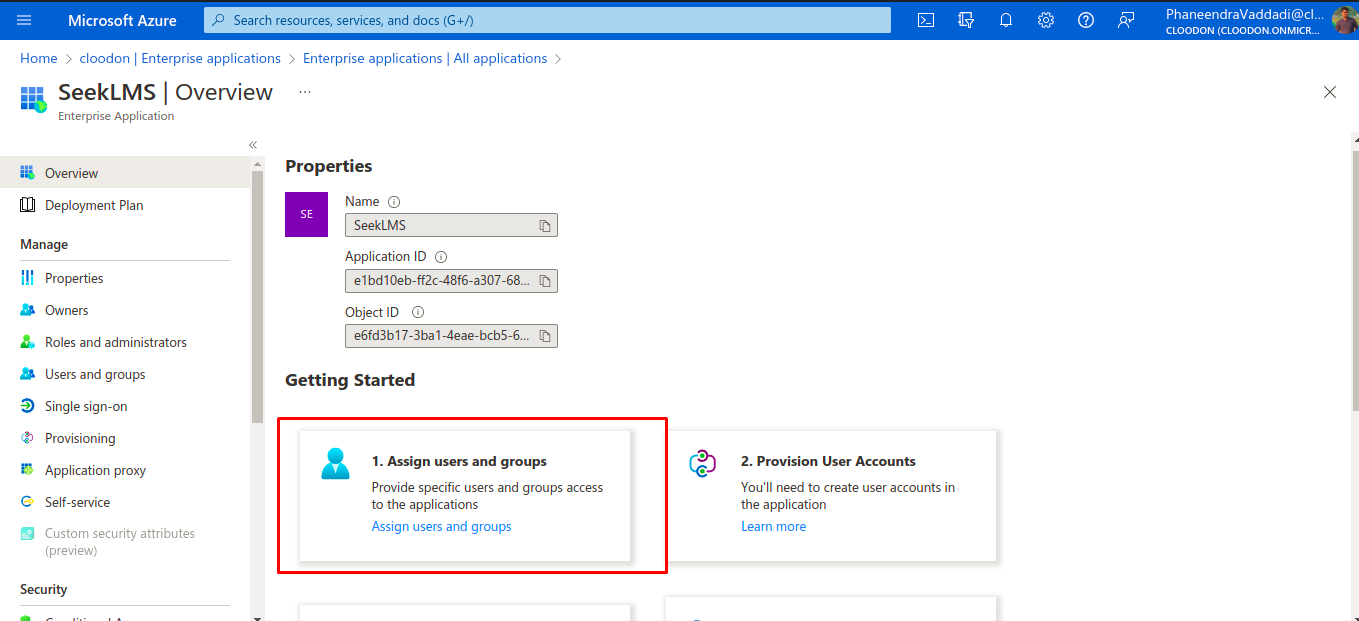
Step 5: Link application and user
Once all the required licenses are added.
Select ‘Enterprise applications’ from the sidebar menu.

- Click on the name of the application you want to give access permission to the user.

- Click on ’Assign users and groups. And then click on ‘Add user/group’.
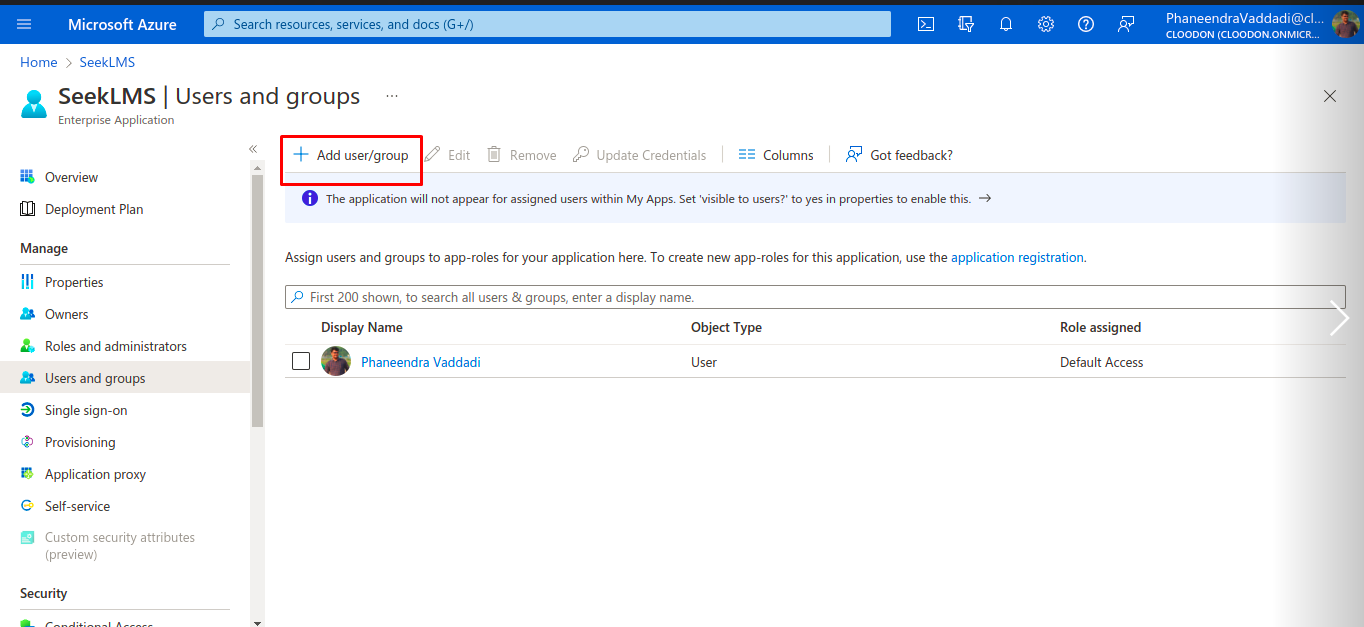
- Select the user as shown in the screenshot.
Click on Users(None selected/ user selected)
Click on all the users you want to give access permission to the application. On the right side of the screen.
Click on ‘select’. On the right side of the screen.
And finally, click on ‘Assign’.

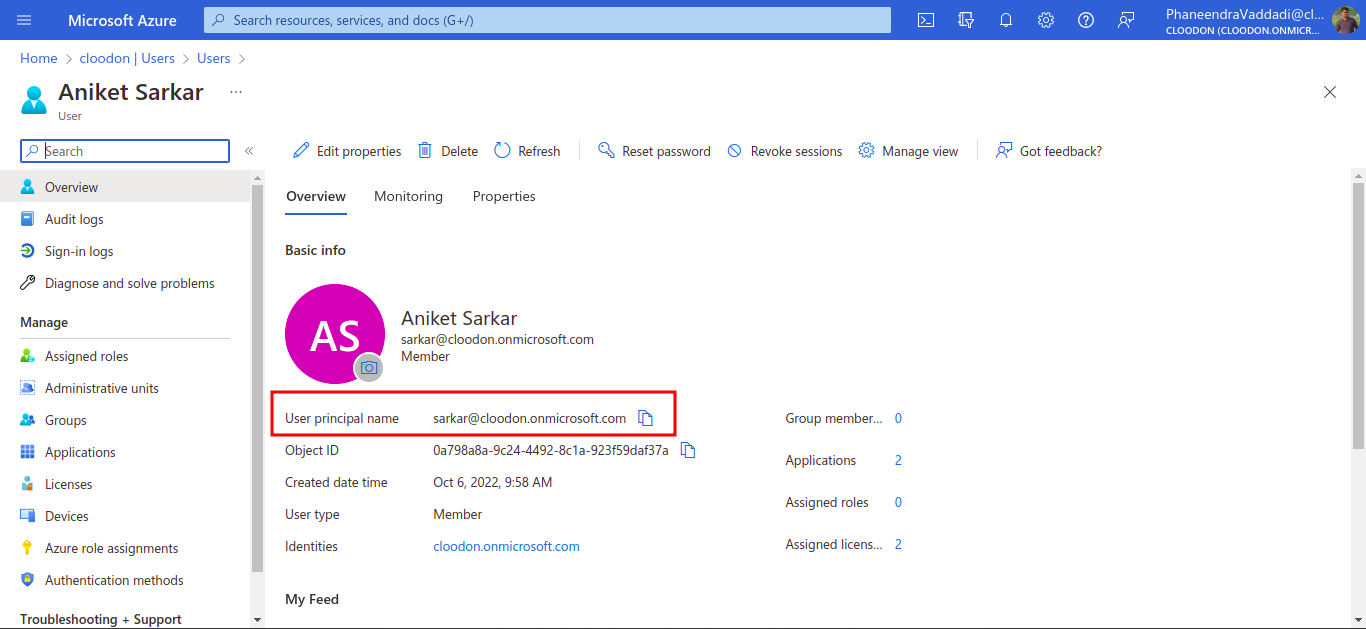
- Now again click on the ‘Users’ from the sidebar menu. And click on the name of the new user created.
- Now copy the User Principal Name shown in the screenshot. This will be the User Principal Name in the SeekLMS.

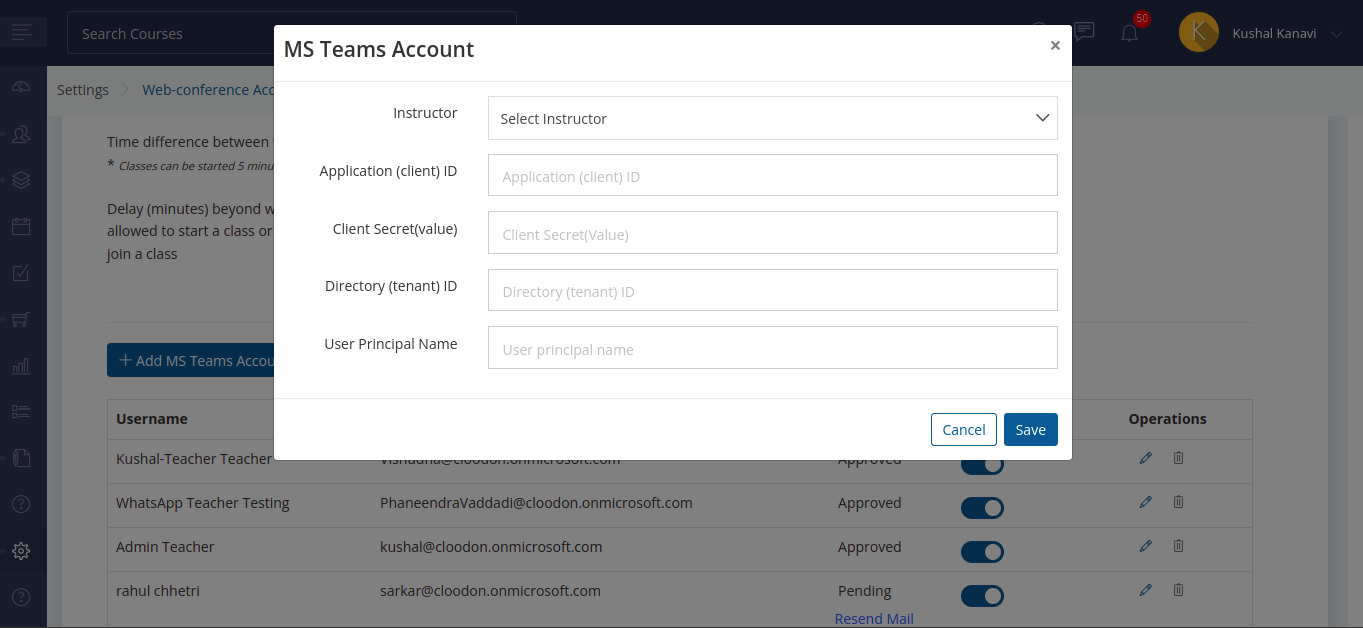
Once you have copied all the credentials mentioned on the first page.
Come back to SeekLMS Platform.
Under Settings -> Web Conference -> MS Teams (tab) -> Click on Add MS Teams account and add the credentials, as shown in screen shot below.


Related Articles
How can I integrate a Zoom License with the platform? Zoom Account Setup
How to Setup the zoom account in SeekLMS You will need to have a paid account to get Zoom session attendance details. To Add Zoom Account to the SeekLMS Platform you will need these details: Account ID Client ID Client Secret To get the above ...How to configure Microsoft Active Directory with SeekLMS
This document explains how to integrate Azure AD with SeekLMS as SSO App Registration: Click on the App Registration Click on New Registration Enter a suitable name for the application and select the type “Accounts in this organizational directory ...How to Configure Single Sign On (Microsoft Active Directory)
1) Log in to Active directory Provider. 2) Select "App registrations". 3) Click on "New registration". 4) Enter your preferred name & select the first option under 'Supported account types'. 5) Note down "Application (client) ID" & "Directory ...What is the difference between an administrator & account owner?
The major difference between an administrator and an account owner is that account owner has the "Billing" option under settings whereas an admin does not have the "Billing" option. Other than this, administrator and account owner have access to all ...How to Import the calendars from the main account to the affiliates
Step 1. 1. Go to Users 2. Click on Affiliates. Step2. 1. Add Affiliates Step 3. 1. Scroll down to Affiliate settings. 2. Check on the Import calendar from “Trail Account”( Main Account) 3. Click on Save.