How to configure Microsoft Active Directory with SeekLMS
This document explains how to integrate Azure AD with SeekLMS as SSO
App Registration:
Click on the App Registration

Click on New Registration

Enter a suitable name for the application and select the type “Accounts in this organizational directory only (Default Directory only - Single tenant)”

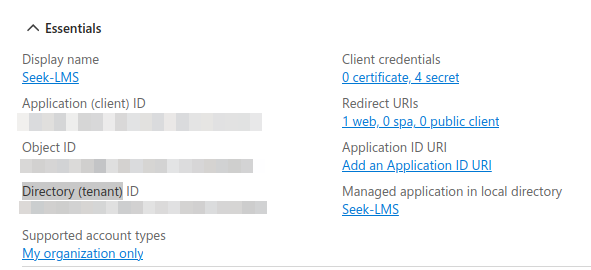
Note the following:
Application (client)
Directory (tenant)
’
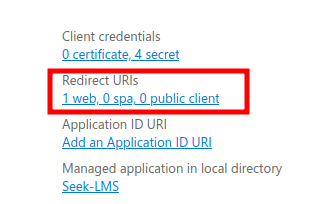
Click on the redirect URI
Click on Add a Platform and choose web


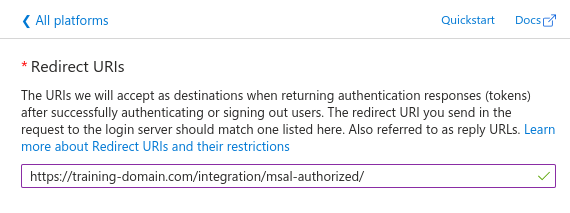
Enter the following for Redirect URI
Note replace training-domain.com with your LMS domain
Click Configure
Client Secret:
Click on Certificates and secret
Click on New Client secret

Enter a description and expiration date choose 24 months
Click on Add
Copy the value as shown below and store it somewhere safe

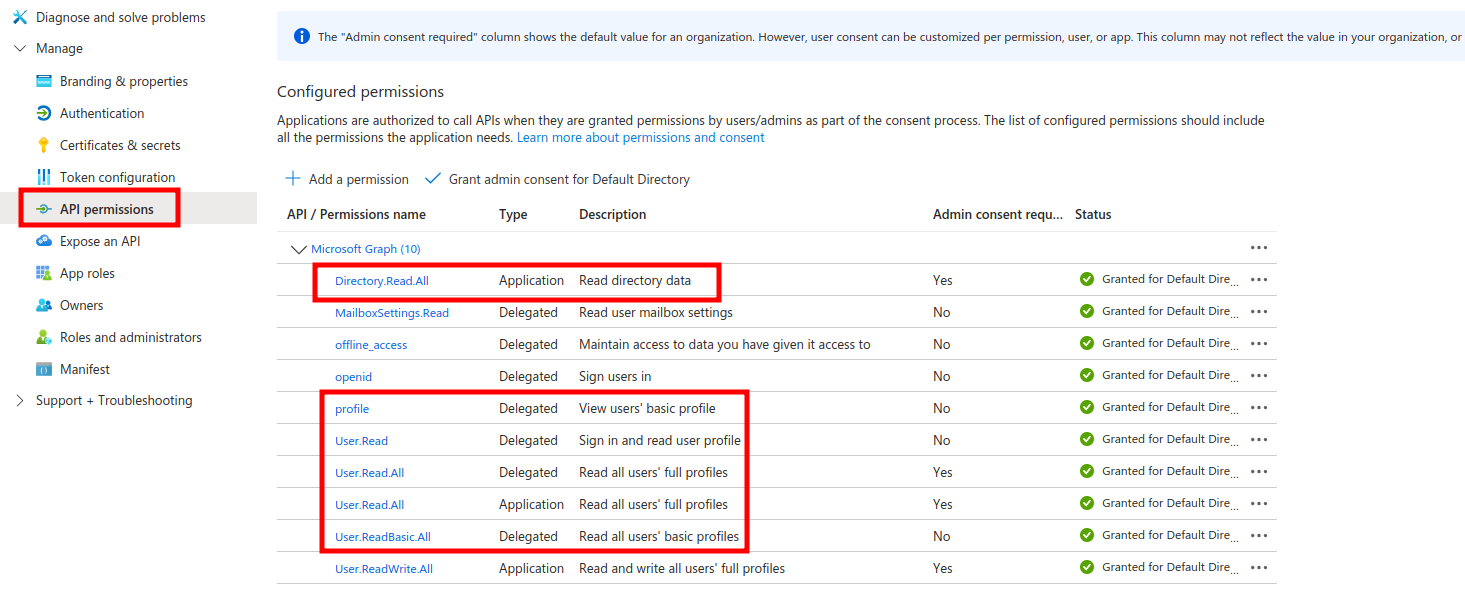
Go to API permissions and ensure all the highlighted permissions are given
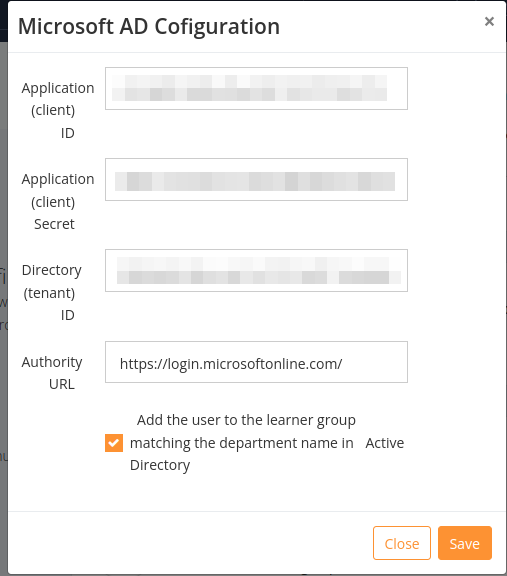
Log in to SeekLMS as an admin
Navigate to settings from the sidebar.
Settings > General settings > Scroll down to Single Sign On part > Turn on the Microsoft SSO > Click the configure button.
Populate the details using the data noted from the previous steps, for authority URL use the default